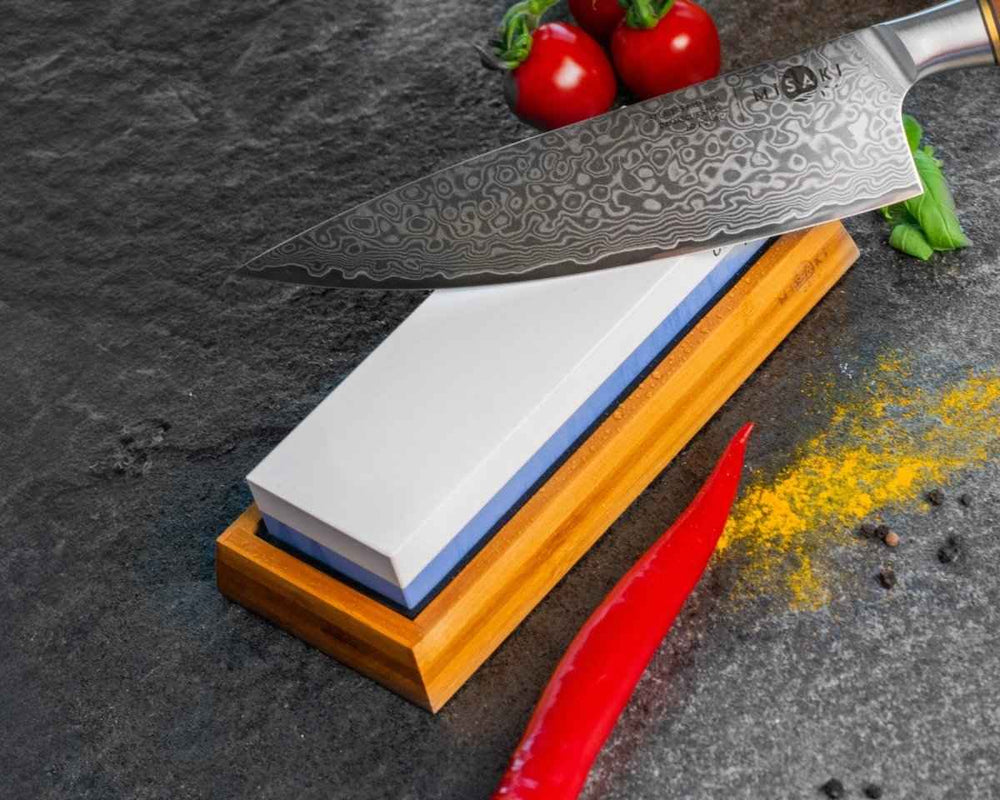

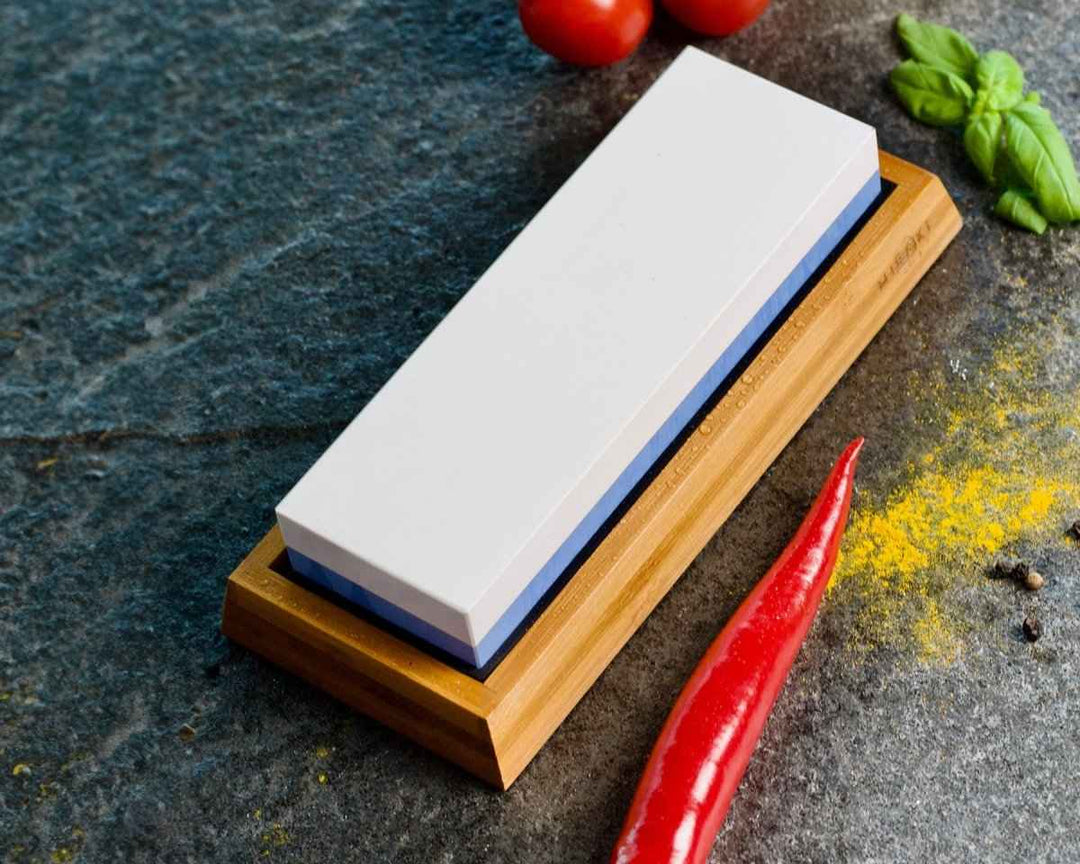


Wet whetstone set (1000 / 6000 grit)
For real basic sharpening and fine finishing. When the cutting edge needs to be rebuilt and precisely refined.
- ✓ 1000 grit side for controlled basic sharpening and restoring the edge
- ✓ 6000 grit side for fine finishing and a smooth, precise cutting edge
- ✓ Enables precise work with a constant angle and minimal material removal
- ✓ Ideal when quick touch-ups are no longer enough
i
You can select express shipping at checkout. Orders placed Monday to Friday before 11:00 are shipped the same day and delivered on the next delivery day by 9:00, including Saturdays. Public holidays excluded. Cost: CHF 30.–The MISAKI whetstone is the most precise way to truly rebuild an edge. It shapes the cutting edge in a controlled manner, corrects fine chips and fully restores sharpness when a knife no longer bites cleanly and starts pressing through food rather than cutting it.
The set combines two grits that complement each other ideally during sharpening.
1000 grit for basic sharpening and restoring the edge.
6000 grit for fine sharpening and targeted refinement of the cutting edge.
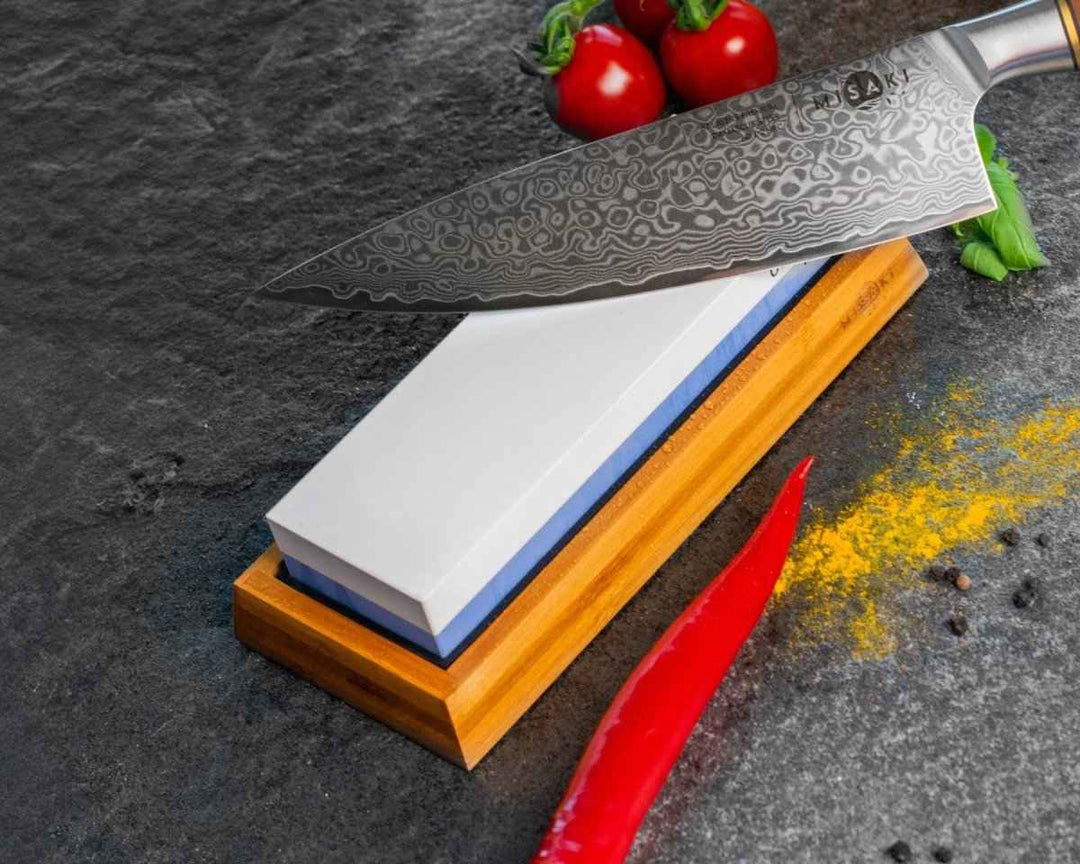
Work calmly, with a consistent angle and enough water. For MISAKI kitchen knives, we recommend an angle of around 15 degrees per side. Use the whetstone deliberately when sharpness declines, not as a routine step. In normal household use, this is usually sufficient every few weeks to a few months, depending on use.
For safe work, a non-slip bamboo stand with rubber holder and an angle guide are included. Both help with stable sharpening and with finding and maintaining the sharpening angle, especially when getting started. For an especially fine finish, you can then strop the edge with a leather strop if needed.
A whetstone is the most precise method for truly resharpening kitchen knives. It reshapes the cutting edge, corrects small chips and fully restores sharpness when the knife no longer grips cleanly and food is being pressed rather than cut. Use it deliberately, not as a routine. In normal household use, this is usually enough every few weeks to every few months, depending on usage.
Overview: structure of a sharp edge

-
Primary bevel
The main geometry of the blade. It determines stability and cutting behavior. -
Secondary bevel
The actual sharpening angle that is worked on the stone. -
Cutting edge
The point where both sides meet exactly.
The goal is a clean cutting edge without unnecessary material removal.
Quick start
- Soak the stone and clean the knife.
- Keep the angle constant, approx. 15 degrees per side.
- Work until a burr forms, then switch sides.
- At the end, deburr and refine with little pressure.
Preparation
- Clean the blade thoroughly before sharpening.
- Submerge the whetstone completely in water until no more air bubbles rise. Depending on the stone, this takes around 10 to 15 minutes.
- Place the stone securely on a damp cloth or rubber mat so it cannot slip.
- Always work with enough water on the surface. The stone must not run dry while sharpening.
Correct sharpening angle
Hold the knife so that it is angled at around 15 degrees per side to the stone. This angle gives MISAKI kitchen knives a very good balance of sharpness and stability.

Step by step on the stone
- Soak the stone until no more air bubbles rise. Start with the coarser side (blue, 1000 grit).
- Hold the knife securely in your leading hand. Stabilize the blade with your thumb so it can be guided steadily.
- Position the blade at the correct angle. As a guide, the knife sits slightly diagonally to the center line of the stone, with the cutting edge tilted about 15 degrees to the stone.
- Keep the angle and guide the blade in even strokes. Start at the tip and work with control.
- Check the burr. Feel carefully across the edge, never along the cutting edge.
- Continue section by section until the burr can be felt along the entire edge.
- Switch sides and repeat the process until an even burr forms on the second side as well.
- Deburr with very light pressure and calm strokes. Check the progress regularly.
- For fine sharpening, switch to the finer side (white, 6000 grit) and repeat the steps at a calm pace with significantly less pressure.
How often to use it
Use the whetstone only when sharpness decreases, when the knife no longer cuts cleanly and needs more pressure, or when the leather strop only helps for a short time. In normal household use, this is usually enough every few weeks to every few months, depending on usage, cutting board and care.
Important notes
- Keep the angle constant; this is more important than speed.
- Use moderate pressure for the base sharpening and very light pressure for the fine sharpening.
- Check the burr regularly so you do not remove unnecessary material.
- Safety comes before sharpness. Work calmly and without jerky movements.
Cleaning
- Rinse the sharpening stone thoroughly after use to remove sharpening slurry.
- Let the stone air-dry completely before storing it.
- Clean the knife after sharpening and dry it immediately.
Conclusion
The whetstone is not a tool for rushing, but for precision. If you take your time and work cleanly, you get sharpness that lasts and protects the knife.

Dimensions
- Length: 180 mm
- Height: 30 mm
- Width: 60 mm
- Weight: 638 g